
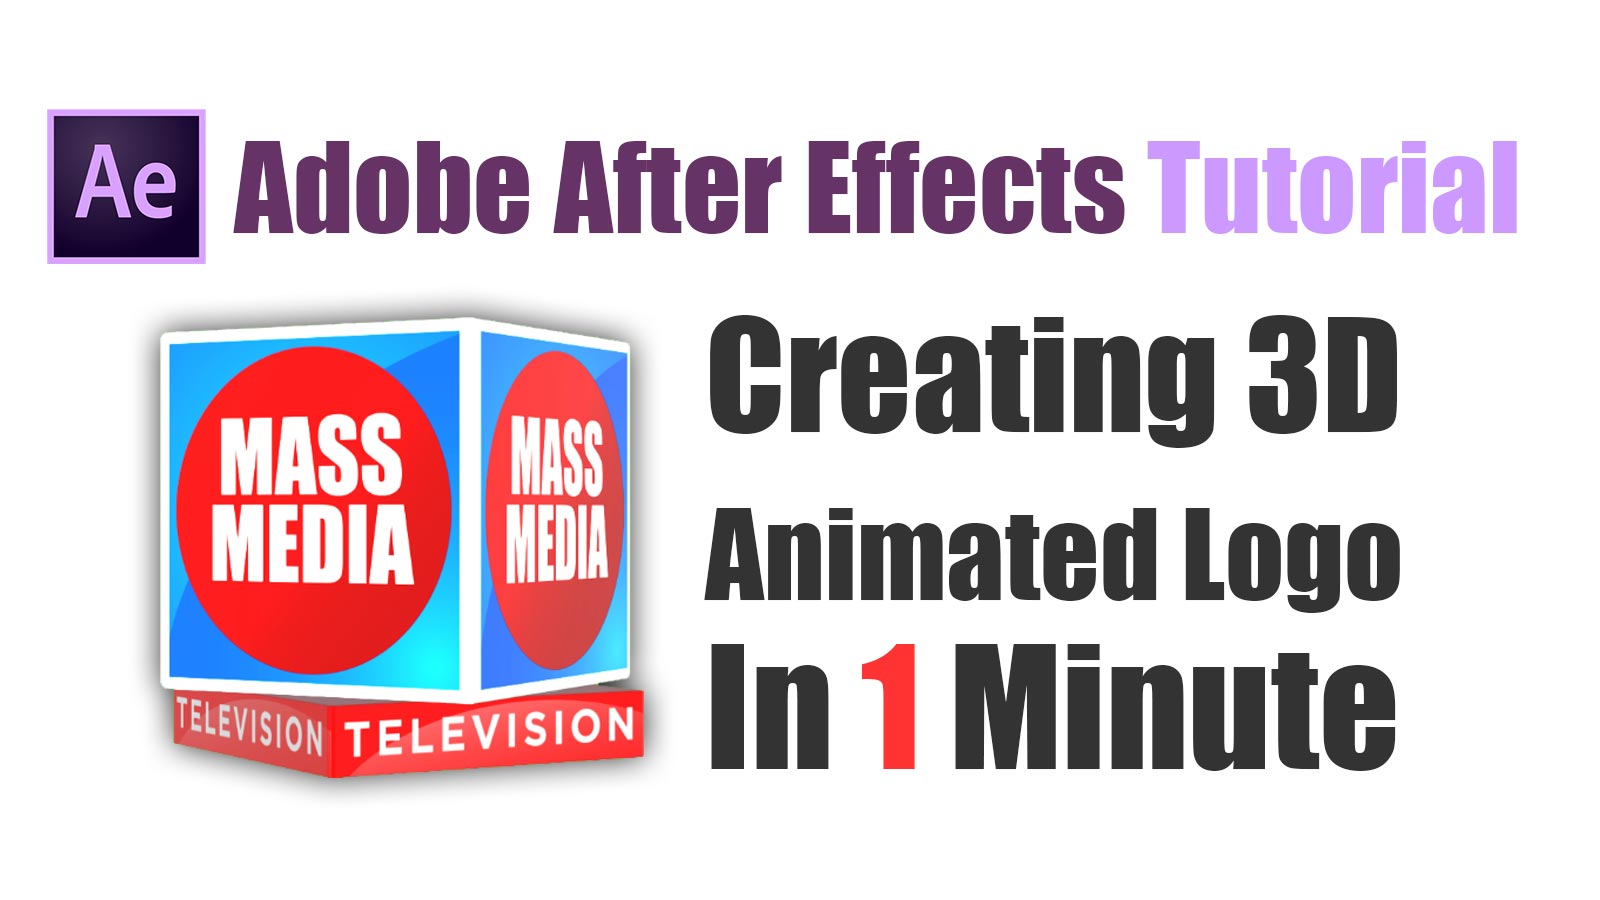
Hello everyone and welcome to the mtc tutorials. Today i am going to show you the easiest way of creating 3D Animated/Rotating cube logo in Adobe After Effects CC 2018, using Element 3D plugin. Follow these steps carefully or watch video tutorial in my YouTube channel.
Scroll down do the Download section
01. Creating & Saving Logo In Adobe Illustrator
- Open Adobe Illustrator ( Any Version )
- Create New work area by clicking “Create New…”
- After clicking on Create New.. button, the new document window will appear now select your desire document size and click on Create button as shown in image 02 bellow.
- Now you are in the Adobe Illustrator new black document. Start creating your logo… After completing your logo creating process, Export your artwork to an image file. Move your mouse pointer to the “File” menu and click on it. The file drop down menu will appear, Scroll down to the “Export” sub menu and select “Export as…” see image 03
- The export dialogue box is now in front of you. Choose your file destination, enter the file name, and select the file type from the list.. ie; i am selecting the PNG (Portable Network Graphics). After all these settings click on “Export button”.
- Now the “PNG Options” Dialog box will appear, where you can change the resolution of the image, and background color. Set the image resolution to “High 300 ppi”(300 pixels per inch) and Background color to “Transparent”. and hit “OK”. See image 04 and image 05.
Tip: Transparency means save this graphic file without any border or background color. You can save your file in GIF Transparent file and PNG Transparent file.
- After clicking on Export this box will appear
2. Creating 3D Cube Logo In After Effects CC 2018 (Any Version)
- Open Adobe After Effects> Create a new composition>Setting up the composition. ie; Name it>In the Preset: Drop down menu select HDTV 1080p “Width 1920” and “Height 1080”, Set the composition Duration: to 10 Seconds (Depends on your logo animation) and hit “OK”. See image05.
- You have created the Composition. The next step is creating a new solid. Right click on the composition blank area> Select New> and then hit the Solid… Don’t make any changes in the “Solid Settings” menu, just hit the “OK” button. See image 07
- Select the new created Solid> Go to Effects & Presets> Search for “Element”, and drag in to the Solid that you created. See image 08
Tip: Element 3D is a fast Open GL 3D object based particle Rendering Engine for Adobe After Effects. Download it from www.videocopilot.net
- You have applied the Element 3D plugin on your solid in Step 3. Select the Solid and move the mouse pointer to the Effect Controls Tab, Next to the Project tab, Expand the Element plugin and hit the Scene Setup. The Element Scene Setup window will appear. see image 09 and image 10.
- Hit the “Create” button and select Cube, the first one in simple Models list. see image 11
- You have created the 3D box model. Move the pointer to the Scene section> Click on BoxModel arrow in the left> and hit the Default> Move down to the Default Edit section> Textures> Click on “None Set” in Diffuse. See image 12
- In the Texture Channel window> Click on “Load Texture” and find the logo that you have created. After loading the image file, hit the “OK”. See image 13
3: Creating Animation and light effects
Setting Channel to the object for animation.
Congratulations !! you have done it, you have created the 3D Cube logo Using Element 3D. In this step we are making this logo Animated. For this purpose right click on “Group Folder” move down to “Auxiliary Animation”> Select Channel 1 and Click “OK”. See image 14
Tip: In case of multiple object animation you can set different Channels for every object. like Channel 1, Channel 2 and so on… In this case i am selecting whole Group folder as a Channel 1.
Adding light effects to the composition.
To add a light effect right click on composition blank area move the pointer to the “New” and select “Light…”. The Light Settings window will appear. Choose the Light Type [Parallel], Color to [White], Change the Intensity value to [150%] or [200%] and hit “OK”. See image 15 and image 16.
Creating Animation Using Element 3D
This is the step you are waiting for. In this step we will create a simple 360 Degree rotating 3D animation using the Y value of rotation. Select the Solid that you have created for Element, and Press letter “E” from keyboard, (E for Element), Click on arrow which is in the left side of Element [>], Select Group 1, and then Aux Channels, in Aux Channel Drop Down the Channel 1 and then rotation. See image 17
Click the small icon next to the _Y in Rotation, it will create a Key frame at the current time which is 0 Second. And then move the Time Indicator to the very end of the composition which is 10 Seconds. Create Another Key frame at 10 seconds by clicking on Diamond shape icon. See image 18 and image 19
After setting two Key frame, one at the start [0 Second], and the second at the end [10 Seconds], now change the value of [0x] to 1 and that’s it. You have created the 3D Cube Animation. Press the [Space bar] in keyboard and play your Logo animation. See image 20
Thanks for reading this Tutorial. Keep visiting this site for more.
Don’t forget to read Related Articles:
- How To Save Green Screen Video In Adobe After Effects
- How To Save Transparent Logo Animation In After Effects
Download this template

Watch Video Tutorial