
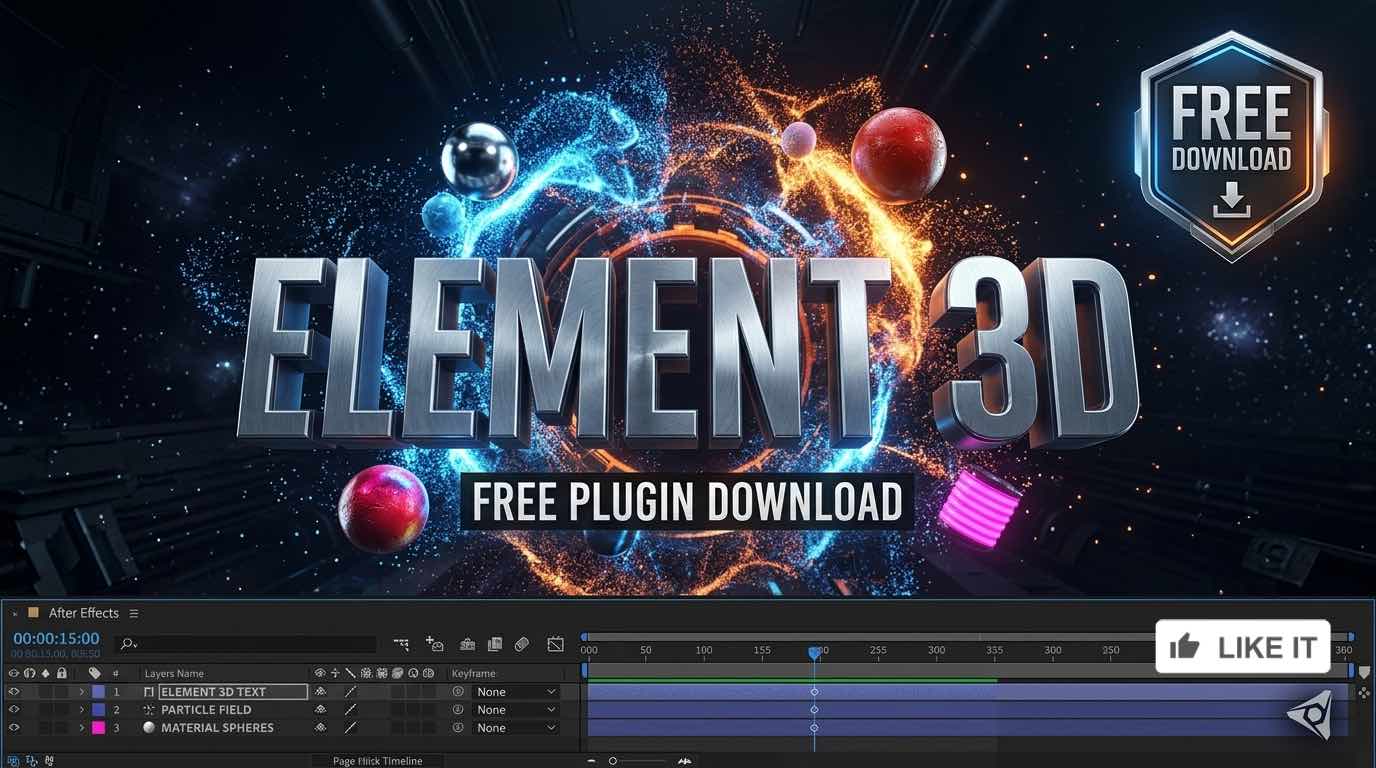
If you work in motion graphics or video production, you already know how powerful After Effects is. But when it comes to real 3D objects inside After Effects, most plugins fall short. That is where Element 3D by Video Copilot changes everything.
This plugin brings real-time 3D rendering directly inside After Effects. No need to jump between Blender or Cinema 4D for every small task. You create, animate, and render 3D objects right inside your composition.
In this article, you will learn everything about Element 3D, including how to download it, what makes it so popular, and how to use it like a pro.
What Is Element 3D Plugin for After Effects?
Element 3D is a third-party plugin made by Video Copilot. It lets you import and animate 3D models directly inside Adobe After Effects. You can use OBJ and C4D files, apply realistic materials, and render everything in real time using your GPU.
Most designers use Element 3D for:
- 3D logo animations
- Broadcast news graphics
- Product visualizations
- Cinematic title sequences
- Motion graphics backgrounds
It is one of the most downloaded After Effects plugins in the world, and for good reason. It is fast, powerful, and easy to learn.
Why Designers Choose Video Copilot Element 3D
Video Copilot has been a trusted name in the motion graphics industry for years. Their tutorials, plugins, and assets are used by professionals at top studios, TV channels, and production houses worldwide.
Element 3D stands out because it works directly inside After Effects without needing a separate 3D application. You get GPU-accelerated rendering, which means faster preview and export times compared to software-based renderers.

Here is what makes it special:
- Real-time OpenGL rendering for fast previews
- Multi-object animation with separate controls per object
- Built-in material editor with reflections, ambient occlusion, and more
- Particle replicator to clone and animate hundreds of 3D objects
- 3D model import supports OBJ and C4D format
- Pre-built motion blur for cinematic results
Element 3D V1 vs Element 3D V2 – What Is the Difference?
Many users still search for Element 3D V1, but Video Copilot improved it massively with version 2.
Element 3D V1 was the original release. It supported basic 3D model import and real-time rendering. It worked well but had limits in material quality and rendering features.
Element 3D V2 brought a completely new material system. It added physically based rendering (PBR), better shadow options, ambient occlusion, depth of field improvements, and much smoother animation controls.
If you are downloading Element 3D today, always go with V2. It gives you broadcast-quality results and works better with modern After Effects versions.
Related Downloads
Element 3D Price – How Much Does It Cost?
The official Element 3D price from Video Copilot is $199 USD for a single license. This is a one-time payment, not a subscription. You buy it once and use it as long as you want.
For professional designers and studios, this price is very reasonable. A single client project can easily cover the cost. The plugin saves hours of rendering time and lets you produce high-quality results quickly.
Video Copilot occasionally offers bundles where you can get Element 3D along with other plugins and asset packs at a discounted price.
How to Download Element 3D Plugin for After Effects
You can download Element 3D directly from the Video Copilot website. After purchase, you get a download link for the installer file.
Steps to download and install:
- Go to videocopilot.net
- Purchase Element 3D V2 from the store
- Download the installer for Windows or Mac
- Run the installer and follow the on-screen steps
- Open After Effects and find Element 3D under Effects > Video Copilot
- Activate your license using your account details
The plugin installs cleanly and does not require any complex setup. Most users have it running within five minutes.
Note for my website visitors: I have made Element 3D available for download on this page. Scroll down to find the download button. Always use the plugin responsibly and support Video Copilot if you use it commercially.
How to Use Element 3D in After Effects
Once you install the plugin, using it is straightforward. Here is a quick workflow to get you started:
Step 1 – Create a New Composition
Open After Effects and create a new composition. Set your resolution and frame rate based on your project needs.
Step 2 – Apply the Element 3D Effect
Create a solid layer. Go to Effects > Video Copilot > Element. Apply it to your solid.
Step 3 – Open the Scene Setup
Click “Scene Setup” inside the effect controls. This opens the Element 3D interface where you import and arrange 3D models.
Step 4 – Import Your 3D Model
Click “Import” to load an OBJ or C4D file. You can also use the built-in shape presets if you do not have a model ready.
Step 5 – Apply Materials
Use the material editor on the right side to apply textures, set reflections, and adjust the surface quality.
Step 6 – Animate in After Effects
Close Scene Setup and go back to your composition. Use keyframes on Element 3D parameters to animate position, rotation, and scale.
Step 7 – Render
Add your lights and camera, set render settings, and export. Element 3D renders fast thanks to GPU acceleration.
Element 3D Free vs Paid – What You Need to Know
Many people search for “Element 3D plugin free download” or look on Reddit for cracked versions. Here is the truth: a cracked or pirated version of Element 3D is not worth the risk.
Cracked plugins can:
•   Contain malware or viruses
•   Crash After Effects randomly
•   Stop working after an update
•   Cause problems with client projects
The official version costs $199 once. It comes with proper support, updates, and a stable experience. If you are a student or freelancer on a tight budget, save up for the original. It is a one-time investment that pays off quickly.
Trending Downloads
Best Element 3D Tutorials for Beginners
Video Copilot’s own YouTube channel has some of the best tutorials for Element 3D. Here are some content types that will help you learn fast:
- 3D Logo Reveal tutorials for broadcast-style animations
- Sci-fi title sequences using custom models
- Particle explosion effects using the replicator system
- Realistic product renders inside After Effects
You can also find tutorials on YouTube by searching “Element 3D after effects tutorial” to find beginner-friendly content.
System Requirements for Element 3D V2
Before you download, make sure your system meets the minimum requirements:
| Requirement | Minimum Spec |
|---|---|
| After Effects Version | CC 2015 or later |
| GPU | OpenGL 3.3 compatible |
| VRAM | 1GB minimum (2GB+ recommended) |
| RAM | 8GB minimum |
| OS | Windows 10 / macOS 10.14+ |
A dedicated GPU makes a huge difference with Element 3D. If you have an NVIDIA or AMD graphics card with 4GB+ VRAM, you will get very smooth performance.
Is Element 3D Still Worth It in 2025?
Yes, absolutely. Even with newer tools available, Element 3D remains one of the fastest ways to produce high-quality 3D animation inside After Effects. It is especially useful for:
- TV broadcast graphics and news channel studios
- Corporate video production
- YouTube channel intros and outros
- Logo animations for clients
Many professional VFX artists and motion designers still use Element 3D daily because it fits perfectly into an After Effects workflow. You do not need to learn a separate 3D application just to create impressive visuals.
Final Thoughts
Element 3D by Video Copilot is one of the best investments you can make as a motion designer. It is fast, powerful, and integrates perfectly with After Effects. Whether you are making a broadcast news package, a 3D logo reveal, or a cinematic title sequence, this plugin will save you time and deliver professional results.
Download it from this page, install it in five minutes, and start creating. Once you use Element 3D, you will wonder how you ever worked without it.
Have questions about Element 3D? Drop a comment below and I will help you out.